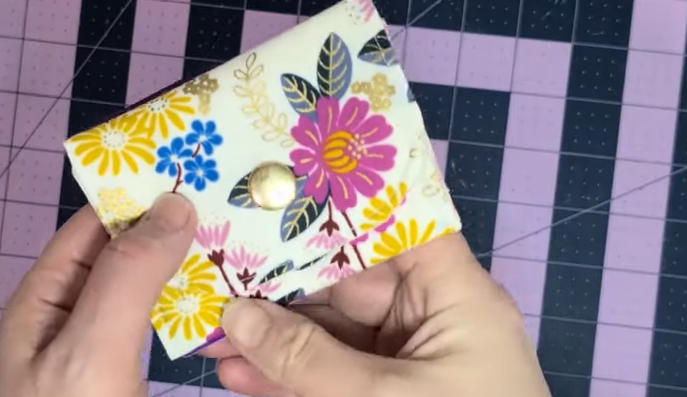

Here is the link to the you tube tutorial https://www.youtube.com/watch?v=ADPUpUlbboY
Simple Sewing Tips for Beginners with Faodail Creation

If you’ve ever wanted to learn how to install KAM snaps, you’re in the right place! Whether you’re sewing baby bibs, bags, or craft projects, KAM snaps are a quick and professional way to create closures without using buttons or zippers.
In this post, I’ll show you how to install KAM snaps step-by-step, including the tools you need, helpful tips for different fabrics, and how to make sure your snaps stay secure for the long run.
This is a link for a Kam snap kit and leather hole punch, this is my amazon affiliate link, if you decide to purchase I may get a small commission
KAM Snaps Starter Fasteners Kit https://amzn.to/3MM6mEy
🧵 What Are KAM Snaps?
KAM snaps are small, durable plastic fasteners that come in two parts — a male and a female side. When pressed together, they “snap” securely in place. Learning how to install KAM snaps is simple and quick, making them perfect for beginners.
You’ll often find them on baby bibs, canvas bags, and craft projects where you need a lightweight yet strong closure. Once you know how to install KAM snaps correctly, you can add them to all kinds of sewing projects for a clean, professional finish.

🪡 Tools You’ll Need to Install KAM Snaps
To get started, you’ll need a few simple tools:
- KAM snaps (male and female parts)
- Snap pliers – for pressing the snaps into place
- Awl or hole punch tool – to make small holes in the fabric
- Fabric or project piece (cotton, canvas, or terry cloth)
- Optional stabilizer – for extra strength on stretchy or thick fabrics
If you’re working with materials like canvas or quilting cotton, you can install your KAM snaps directly.
However, if you’re sewing with terry cloth or soft baby fabrics, you’ll want to add a stabilizer between your layers. This helps your snaps hold up to repeated use without pulling through the fabric.
✂️ Step 1: Prepare Your Fabric
Before learning how to install KAM snaps, make sure your fabric is properly prepared. If you’re installing a snap to a bag flap, bib, or closure, fold your fabric in half to find the center point. Press or crease it lightly so you can mark exactly where the snap will go.
Preparing your fabric carefully is an important first step in how to install KAM snaps, ensuring that your snaps are perfectly aligned and your finished project closes neatly and securely.
🔩 Step 2: Pierce the Fabric
Next, use your hole punch or awl to make a small hole through both layers of fabric.
Be careful not to make the hole too large just enough for the snap’s prong to fit through.
This is where the KAM snap will sit snugly in place.

🧷 Step 3: Install the First KAM Snap
Now it’s time to install your first snap!
- Take the cap part (flat side) of the KAM snap and place it on the back side of your fabric.
- Add the male or female piece (depending on which side you’re starting with) on top of the fabric, so the prong comes through the hole.
- Place your project into the snap pliers, aligning the cap inside the curved holder.
- Squeeze the pliers firmly to flatten the prong.
You’ll notice that the prong flattens inside the snap, locking it tightly in place.
That’s your first half done!

🪙 Step 4: Install the Second KAM Snap
Now, repeat the process for the other side of your project:
- Fold your item in half again to find the matching position.
- Use your awl or hole punch to create another hole.
- Insert the second cap piece from the back side of the fabric.
- Add the opposite snap part (male or female) on top.
- Use your pliers to squeeze down firmly again.
When both sides are installed correctly, you can snap them together and just like that, you’ve installed your KAM snaps!

🧵 Step 5: Test Your KAM Snaps
Once you’ve installed both snaps, press them together to test the fit. They should snap easily and feel secure when you pull them apart.
If they feel loose, check that you pressed firmly enough or that your prong wasn’t bent during installation. For stronger fabric, extra stabilization can help improve the hold.
💡 Beginner Tips for Installing KAM Snaps
Here are a few quick tips to make your KAM snap installation even smoother:
- Practice on fabric scraps first.
It’s the best way to get a feel for how much pressure to apply with your pliers. - Use stabilizer for soft fabrics.
Especially for baby items — this keeps the snaps from tearing out. - Keep your snaps organized.
The male, female, and cap parts often come in separate bags. Sort them before starting. - Press firmly but carefully.
A strong squeeze ensures the prong flattens completely without damaging the plastic.

🎨 Where to Use KAM Snaps
Once you learn how to install KAM snaps, you’ll find endless uses for them!
Here are a few project ideas:
- Baby bibs and burp cloths
- Fabric snack bags
- Coin pouches and wallets
- Tote bag closures
- Sewing organizers or cord keepers
They’re lightweight, durable, and come in so many colors that you can match or contrast them for fun designs.
🔧 Common Mistakes When Installing KAM Snaps
Even experienced sewists make these simple errors here’s how to avoid them:
- Misaligned snaps: Always mark your placement before punching holes.
- Loose snaps: Make sure the prong fully flattens when pressed.
- Damaged caps: If you press at an angle, you might crack the plastic. Keep the tool level.
- No stabilizer on soft fabric: Without support, your snaps can pull through after a few uses.

🌟 Final Thoughts: How to Install KAM Snaps Like a Pro
Learning how to install KAM snaps is one of the easiest upgrades you can make to your sewing projects. With just a few tools and a little practice, you’ll be adding professional-looking closures in minutes.
So, have you ever used KAM snaps before? Are you planning to try them on your next sewing project?
Let me know in the comments below and if you found this helpful, don’t forget to check out my other easy sewing tutorials on Faodail Creation you tube for more fun and beginner-friendly sewing ideas.
Join my FACEBOOK GROUP : https://www.facebook.com/groups/405258636506758 where I have all my free patterns
How to Install KAM Snaps | Sewing Machine Tutorials Tips for Beginners
How to Install KAM Snaps | Sewing Machine Tutorials Tips for Beginners is a fun way to explore how to attach notions
If you enjoyed How to Install KAM Snaps | Sewing Machine Tutorials Tips for Beginners, you might also like my How to Attach Snap Fasteners , which is just as easy as KAM snaps and look more professional. You can also try How to Sew Chapstick Holder with Snap Fastener to learn how to make a projects with adding snaps
Subscribe so you don’t miss my next blog post
Recent Blog Posts
- How to Sew a Snap Closure Cord Keeper : A Simple Step-by-Step Tutorial
- How to Make a Fabric Garland
- Make a Zipper Pouch on the Cricut : Easy, Brilliant Step-by-Step Tutorial
- How to Embroider on Ribbon : 7 Easy Steps for Beautiful Personalized Christmas Ribbon
- Cat Applique Sewing Pattern : 8 Easy Steps to Create Beautiful Fabric Wall Art
Categories
- Amazon Must Haves
- Baby Lock Altair Tutorials
- Baby Lock Mid Arm | Faodail Creation
- Baby Lock Serger | Faodail Creation
- Baby Lock Soprano
- Christmas Sewing
- Easy Quilting Projects | Faodail Creation
- Easy Sewing Projects for Beginners
- Fabric Painting Tutorials
- Free Motion Quilting | Faodail Creation
- Garment Sewing
- How to Applique
- How to sew quilt Blocks
- How to Sew Zipper Pouches
- Machine Embroidery for Beginners
- On the Cricut Sewing Projects
- Quilt Binding
- Quilting Techniques
- Sewing Cushion Covers
- Sewing Machine Tutorials Tips for Beginners
- Sewing Velcro | Faodail Creation
- Thread Painting Tutorials | Faodail Creation
New Blog Posts